Chat walkthrough: draw a Hall bar device in one sentence
Three natural-language requests, three real tool-call turns, one Hall bar device drawn from an empty cell to a finished layout.
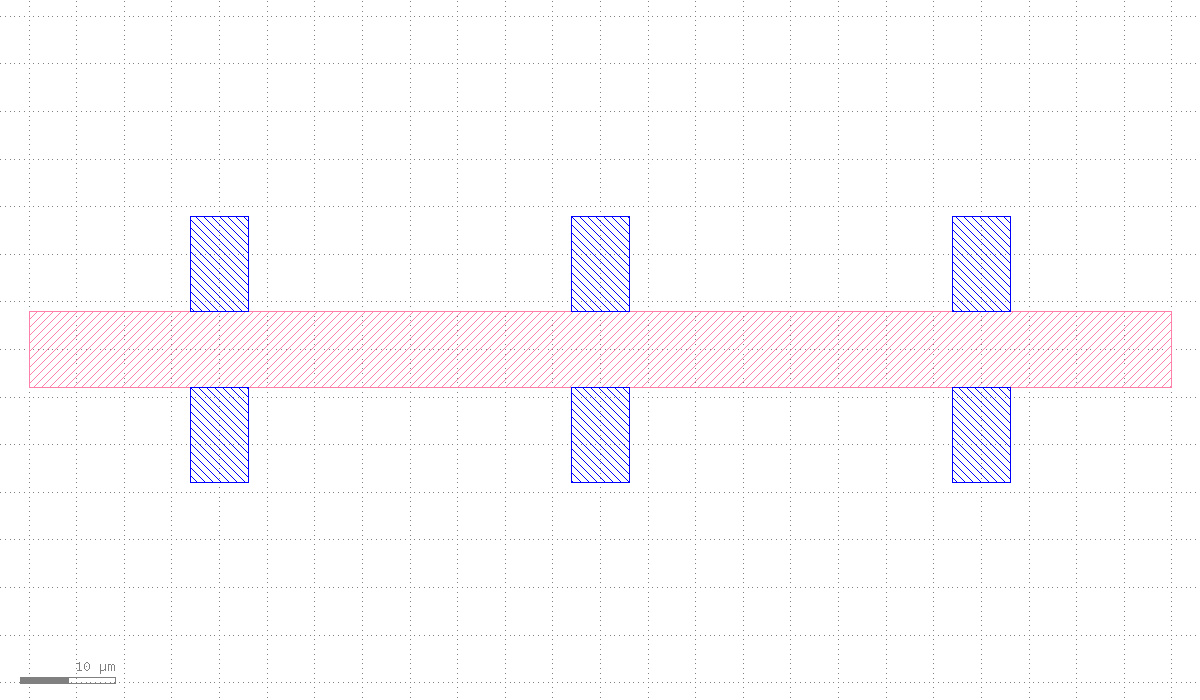
I opened a disposable tab, ensured 4 layers (device layer 1/0, metal layer 10/0, label layer 6/0, route layer 12/0), drew the mesa body first (120 x 8 µm), then batch-inserted 3 contacts on top and 3 on the bottom (6 total), each sticking outward from the mesa edge.
layer.ensure(1/0, 10/0, 6/0, 12/0)
shape.insert_boxes(mesa → 1/0, 1 box)
shape.insert_boxes(6 contacts → 10/0)
view.zoom_fit
I batch-inserted 6 probe pads (16x16 µm) just outside each contact. Instead of hand-drawing wires, I marked a Port at each contact tip and each pad's inner edge (one shared net per pair, e.g. hb_t0), then called klink's tapered-hybrid routing backend to plan and write the traces onto layer 12/0. The structured result came back ok=true: all 6 routes succeeded, 0 obstacle hits, 0 sibling overlaps.
port.mark_many(12 ports on 999/99, 6 nets: hb_t0..hb_t2, hb_b0..hb_b2)
routing.tapered_hybrid_cell(cell="HALLBAR_CHAT_DEMO", port_layer="999/99", obstacle_layers=[])
→ {"ok": true, "route_count": 6, "obstacle_hit_count": 0, "sibling_overlap_count": 0}
view.zoom_fit
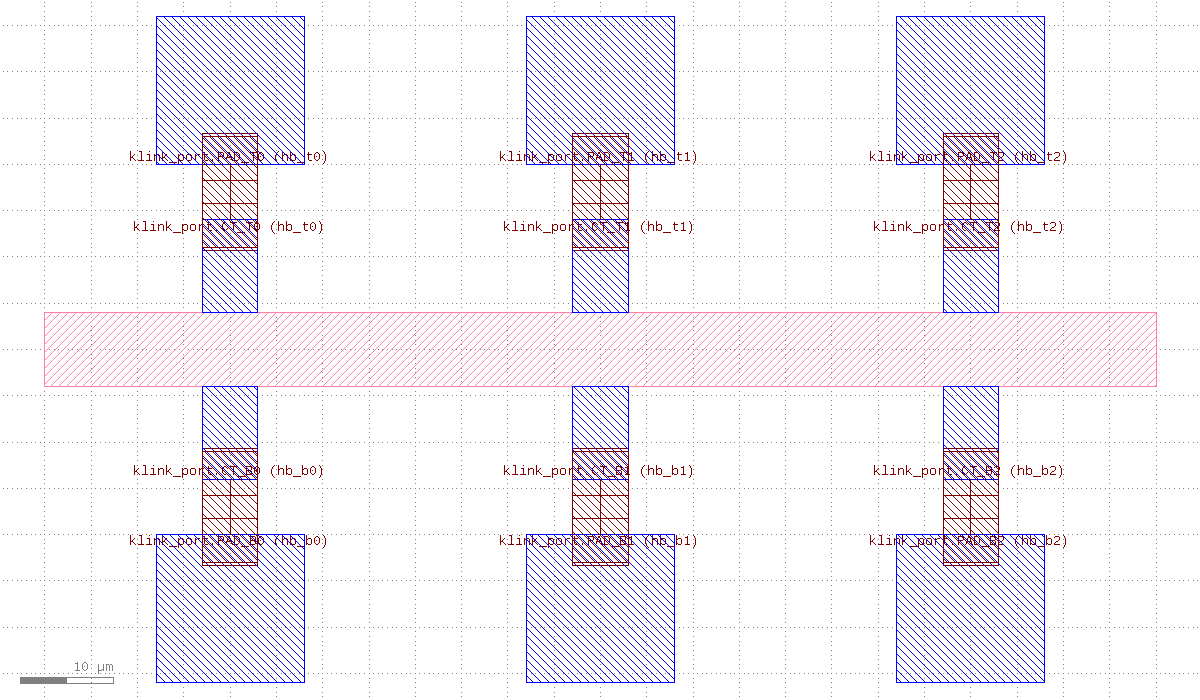
ok=true from routing.tapered_hybrid_cell). The small red boxes still on the layout are the Port markers themselves, not the traces.I wrote a text label below the device, then zoomed to fit the whole layout.
view.zoom_fit
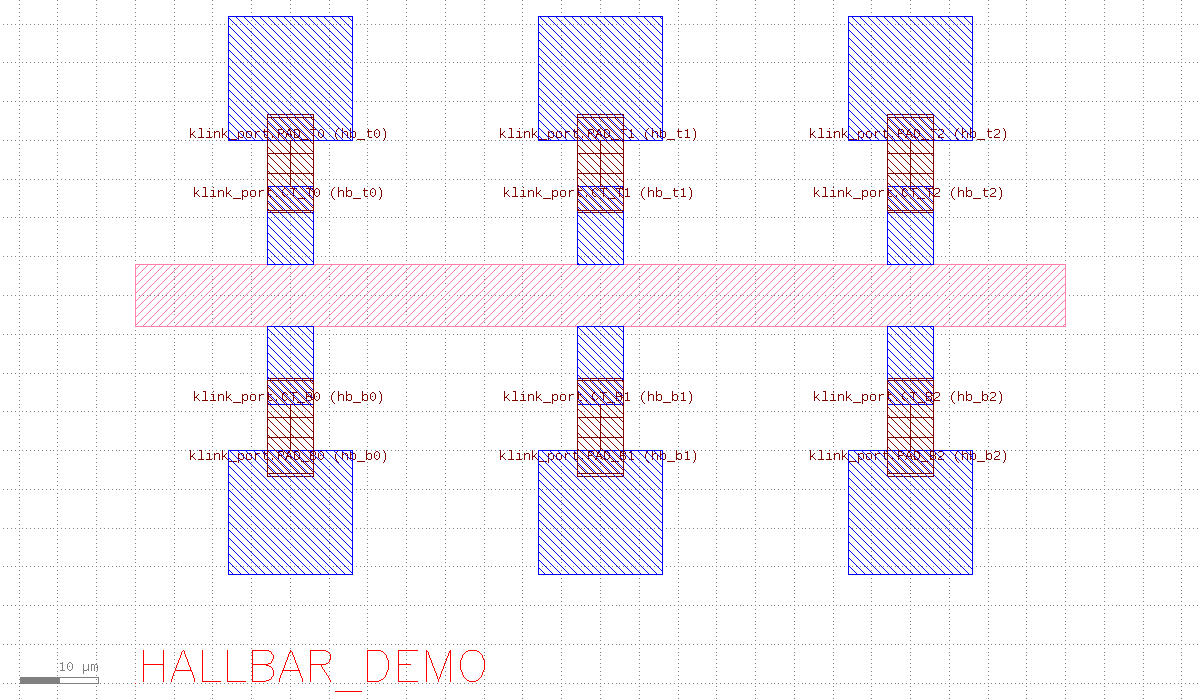
What this conversation actually drew
Three sentences, three real tool-call turns: batch-drawn synthetic geometry for the mesa and contacts, Port markers expressing intent handed to routing.tapered_hybrid_cell to plan and write the real traces (a structured ok=true result, not "looks connected"), then a label to finish. Everything happened in one disposable tab -- none of the user's other open KLayout windows were touched.
Want the fuller, more granular step-by-step version of this device (layer-plan table, Anchor waypoints, zoomed-in detail)? See the Hall bar step-by-step tutorial.
.chat-calls lines above exactly.